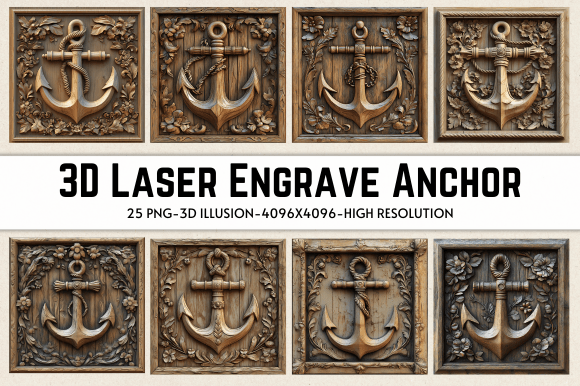
Mastering 3D Laser Engrave Anchor Designs
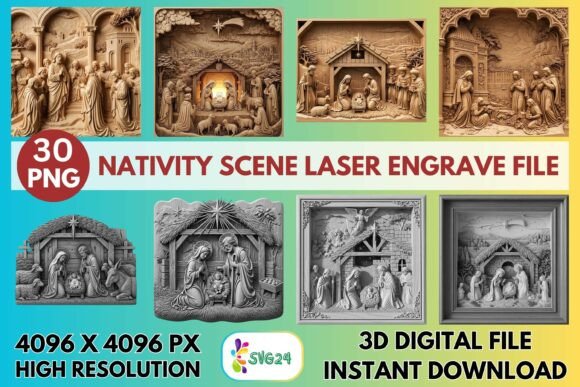
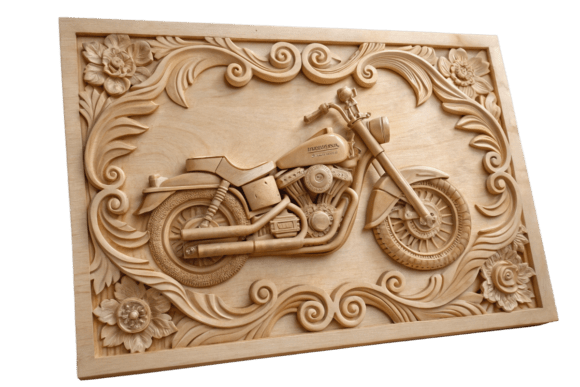
When we talk about elevating laser engraving projects, the conversation often drifts toward machine capabilities or wood types. However, the true differentiator between a amateurish burn mark and a professional-grade piece of art lies in the source file. This is where the concept of 3D Laser Engrave Anchor imagery comes into play. It is not merely a graphic; it is a meticulously prepared grayscale map that tells your laser exactly how to vary its power to create depth, shadow, and texture. The visual appeal of an anchor design, when executed with proper grayscale dithering, transforms a flat surface into a tactile experience. The heavy lines of the shank and the intricate details of the flukes require high-resolution input to avoid looking like muddy blobs or disconnected pixels.
The personality of a well-executed anchor engraving is one of stability and nautical heritage, but its style is defined by the technical precision of the file. A premium font or a detailed illustration used in this context must possess clear contrast gradients. In editorial design or packaging design, we often rely on vector paths, but for photo-realistic or shaded effects on wood, raster images are king. The 3D Laser Engrave Anchor PNG files provided in this collection are optimized specifically for this purpose. They are not editable vectors, which might seem like a limitation to some, but for laser engraving, this fixed resolution ensures that the dithering pattern remains consistent. This consistency is crucial for maintaining brand identity and professionalism across multiple products.
Optimizing Grayscale Files for Depth and Texture
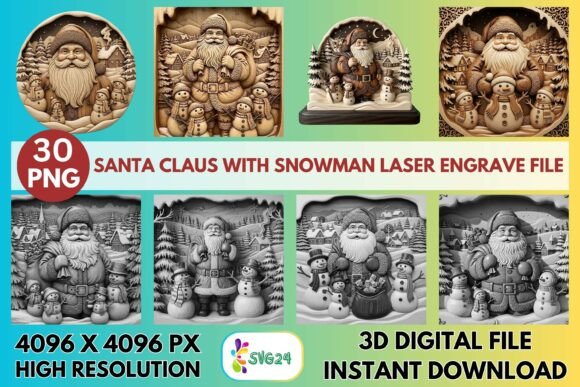
Understanding the mechanics behind these files is essential for any crafter or small business owner. The term "3D" in this context refers to the visual illusion of depth created by varying the laser’s power output based on the pixel brightness. Black pixels receive full power, burning deep and dark, while white pixels receive little to no power, leaving the material untouched. The gray areas create the mid-tones. This technique is vastly superior to simple black-and-white line art when you want to convey realism or artistic shading. The included 25 Grayscale PNG files are prepared at a high resolution of 4096 x 4096 pixels. This size is critical because it allows for significant resizing without losing the integrity of the dithering pattern.
For those using Glowforge machines, the settings are paramount. The recommended configuration involves setting the speed to 1000 and power to 90, with the mode set to "Grayscale - Vary Power." This tells the machine to interpret the image data dynamically. Increasing the Lines Per Inch (LPI) to 270 or higher ensures that the transition between shades is smooth rather than banded. If you are using LightBurn, the process involves applying a Jarvis dither filter. This specific algorithm distributes the error of quantization in a way that preserves detail better than standard Floyd-Steinberg dithering for many wood types. The result is a cleaner, more refined image that looks less like a series of dots and more like a continuous tone photograph.
It is important to note that lighter woods, such as maple, birch, or basswood, are ideal for this type of work. Darker woods like walnut can absorb too much of the contrast, making the subtle grayscale variations difficult to discern. By choosing the right material, you allow the 3D Laser Engrave Anchor design to shine. The transparent background included in these PNG files also offers flexibility. While the engraving itself relies on the grayscale data, having a transparent background allows you to easily preview the design over different textures in your design software before committing to the burn.
Versatility Across Creative and Commercial Projects
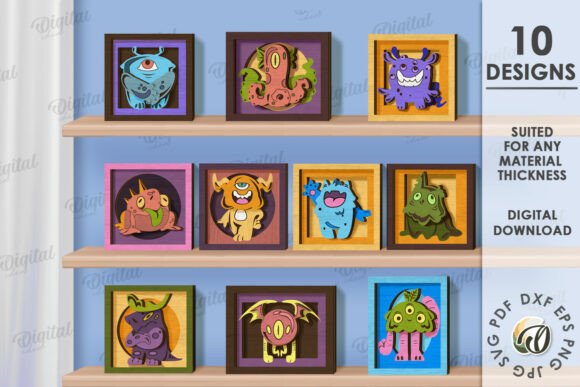
The applications for these high-quality design assets extend far beyond simple coasters or keychains. For entrepreneurs and marketers, consistency is key to building recognition. Imagine a boutique hotel using these anchor designs on their room keys, wooden signage, and even textile bags. The uniformity of the engraving quality reinforces a sense of luxury and attention to detail. In the realm of social media graphics, showing the process of creating these engraved items can be highly engaging content. The visual hierarchy of a well-engraved piece draws the eye naturally from the bold outlines to the subtle shading, keeping the viewer engaged longer than a flat print would.
Designers working in web design or digital marketing can also benefit from understanding these physical constraints. When creating mockups for clients, using realistic textures and shadows derived from actual laser engraving results can make digital presentations feel more tangible. Furthermore, these files are excellent for stationery and home decor. A framed piece of wall art featuring a nautical theme gains significant value when the image has depth. The Coloring PNG files included in the package also offer an alternative route for those who wish to hand-paint or stain the engraved areas, adding another layer of customization.
From a branding perspective, using a distinct visual style like this helps in differentiation. In a market saturated with generic vinyl decals, laser-engraved wood products stand out. The permanence of the engraving suggests durability and quality, traits that consumers associate with premium brands. Whether you are creating gifts for corporate clients or products for an Etsy store, the perceived value of a 3D-effect engraving is significantly higher. This is not just about aesthetics; it is about communicating value through craftsmanship.
Practical Guidance for Implementation and Licensing
Before purchasing and implementing these files, it is vital to ensure compatibility with your specific setup. While these PNGs are optimized for major platforms like Glowforge, xTool, and LightBurn, every machine behaves slightly differently. Always perform test burns on scrap pieces of the same wood you intend to use for the final product. Adjust the power and speed incrementally. If the blacks are burning through the material, reduce the power. If the grays are not visible, increase the LPI or slow down the speed slightly. Remember, the buyer is responsible for resizing the design to fit their chosen product, so maintain the aspect ratio to prevent distortion of the anchor’s proportions.
Licensing is another critical consideration for commercial users. These files are intended for both personal and commercial use, allowing you to create physical products for sale. However, you cannot resell the digital files themselves. This distinction is important for protecting the creator’s intellectual property while enabling your business growth. When pairing these designs with other elements, consider using a clean sans serif font for any accompanying text. A modern typography choice will complement the detailed nature of the anchor without competing for attention. Avoid overly decorative script fonts unless they are large and legible, as the intricate details of the engraving already provide plenty of visual interest.
Ultimately, the success of your project depends on the synergy between the file quality, machine settings, and material choice. The 3D Laser Engrave Anchor collection provides the foundational asset—a high-resolution, professionally dithered image. Your job is to translate that digital potential into physical reality. By paying attention to the nuances of grayscale interpretation and taking the time to dial in your machine’s parameters, you can produce work that rivals industrial manufacturing in quality while retaining the unique charm of handmade craft. This balance of technology and artistry is what defines modern laser engraving, and mastering it opens up endless possibilities for creative expression and commercial success.